On 1990 models and up, you must use a spring compressing tool. Do not attempt to disassemble the clutch with- out this tool. The diaphragm spring is highly compressed and could fly out and hurt someone. The tool is available under part number HD-38515A. Insert tool into the threaded hole of the release plate. Turn the handle clockwise to move the clutch spring. Remove the retaining ring. Remove the tool and spring assembly to a safe area then release pressure and remove the tool.
Remove the clutch hub nut previously described.
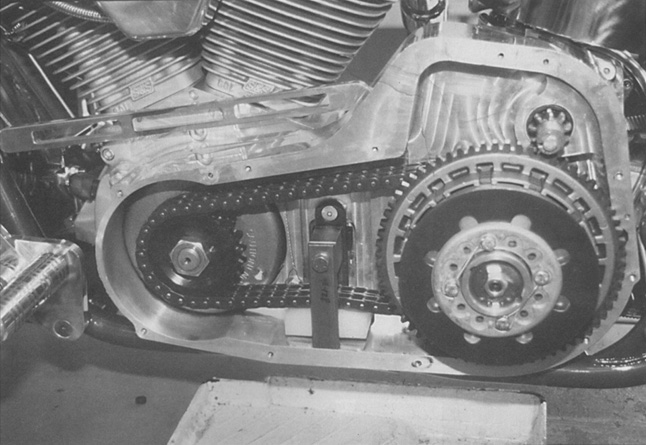
On 1990 and later models the mainshaft is splined and the clutch basket will pull off. On pre-1990 models a clutch hub puller must be used as it is a tapered shaft. When the hub is loose, remove the hub, chain, and engine sprocket as an assembly.
On pre-1990 models, remove the four bolts that are holding the aluminum adjuster plate with a 7/16 socket. Remove them evenly, no more than one turn at a time so the plate releases evenly.
Next, for both styles, remove the diaphragm spring, pressure plate,
friction plate, and steel discs. Turn the basket over and remove the snap ring from the inner clutch hub. Be very
careful when doing this.
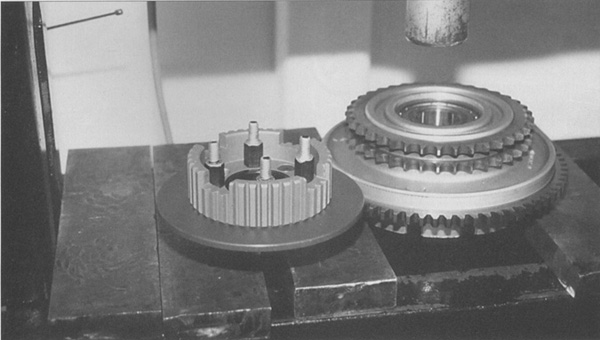
Use a hydraulic press and firmly support the basket while you press out inner clutch hub. Check the bearing smoothness. If any resistance is
found, replace the bearing. Using the press, install Rivera’s clutch hub into the basket. Be sure to support bearing’s
the inner race during this procedure. Check the bearing again for
smoothness.
Install
the snap ring on the inner clutch hub, making sure it is fully
seated in its groove. At this point, I like to press a clutch hub sleeve
over any taper shaft hub to reinforce the keyway slot. These are
not readily available from most parts companies.
While you are cleaning everything, prepare for reassembly by soaking the
friction and steel plates in primary lubricant for at least 10 minutes,
prior to reinstalling them.
Check taper shaft models for fit on shaft and
also fit of keyway in hub. Install the key in the mainshaft, making sure
it is firmly seated. Re-install the clutch basket into the chain.
Install the assembly, including the chain adjuster, back into the inner
primary, taking care not to disturb the key. Put the key at 12:00, and
put a dab of white paint on the hub to help you line it up. Once you
feel the hub go into place, hold it while you add a couple of drops of
blue thread sealant to the threads of the mainshaft or nut. Install the
nut on the mainshaft, turning it to the left until it’s snug. Do not
use an impact wrench, use a torque wrench and tighten the nut to 60
foot/pounds for pre-1990 models and 80 foot/pounds on 1990 and up
models.