After you have done all the things to your engine and it's running really well, are you having a problem getting it to the rear tire? Well, you’re not alone.
Common sense is that if you up your horsepower you are also going to have to beef up parts between the engine and the tire.
Normally this can be expensive. Sometimes you just need heavier clutch springs or better discs. If so, you’re lucky because after that things tend to get expensive.
Now there is another option available Rivera Engineering has come up with a clutch upgrade for Harley and other Big Twin motorcycles. They have a conversion kit for the old Shovelhead
10 spring basket, and also an upgrade for the more recent diaphragm types. The cost is cut because you use your old clutch basket.
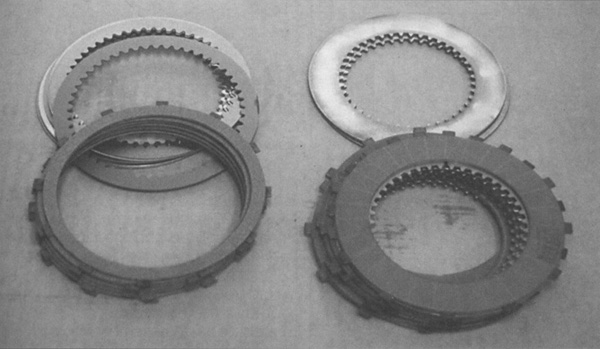
The way they do this on diaphragm clutches is to increase the clutch
friction area, which just makes a lot of sense. In the case of the 1986 to 1989 taper shaft model, this is an increase of 325 percent, while the 1990 and later spline shaft has a 100 percent increase compared to stock.
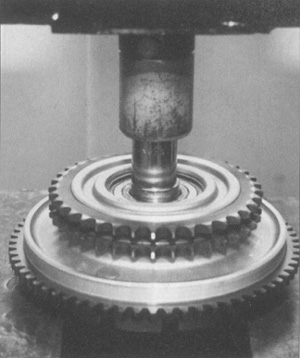
The Pro Clutch, as it is called,
is easily installed into your existing clutch basket. The job isn’t
difficult, but some care and special tools are needed.
Caution: Never work on any drive train
part without first disconnecting the battery.
Also, as with any new part or operation, read
all the instructions all the way through at least once, and more if
necessary until you have a good idea about what you are going to do and
make sure you have all the necessary tools.
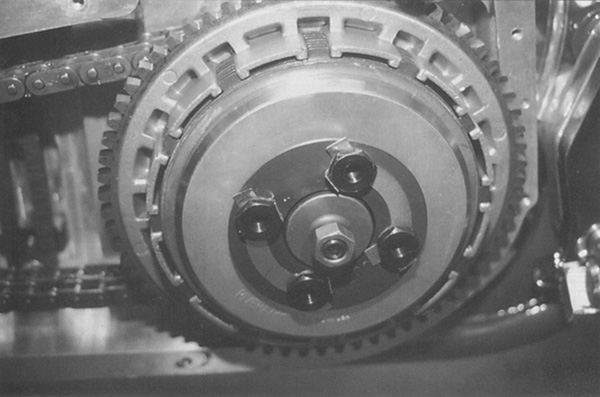
After the battery is disconnected, drain the
primary and remove the outer cover. I like to take the engine
compensating sprocket off first just in case it is stubborn. If need be,
I can put the bike in gear and hold the brake while I break the nut
loose. Use a 1 1/2 socket and a 1/2 drive impact wrench, or a breaker
bar, and loosen the nut in the normal manner.
Loosen and remove the primary chain adjuster
bolt with a 9/16 socket and on pre-90 models (for 1990 and up models see
later) back off the adjusting screw. Remove the retaining ring and the
release plate from the pressure plate and remove the transmission
mainshaft nut with a 1 1/8 socket turning clockwise as the threads are
left hand. Use an impact wrench or put the bike in gear and have someone
hold the brake while you loosen the nut.